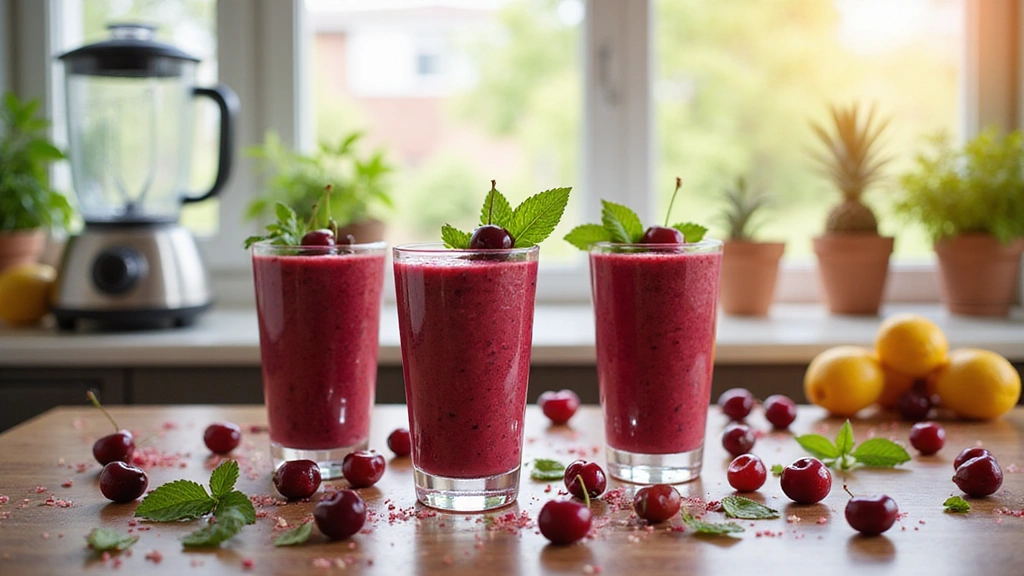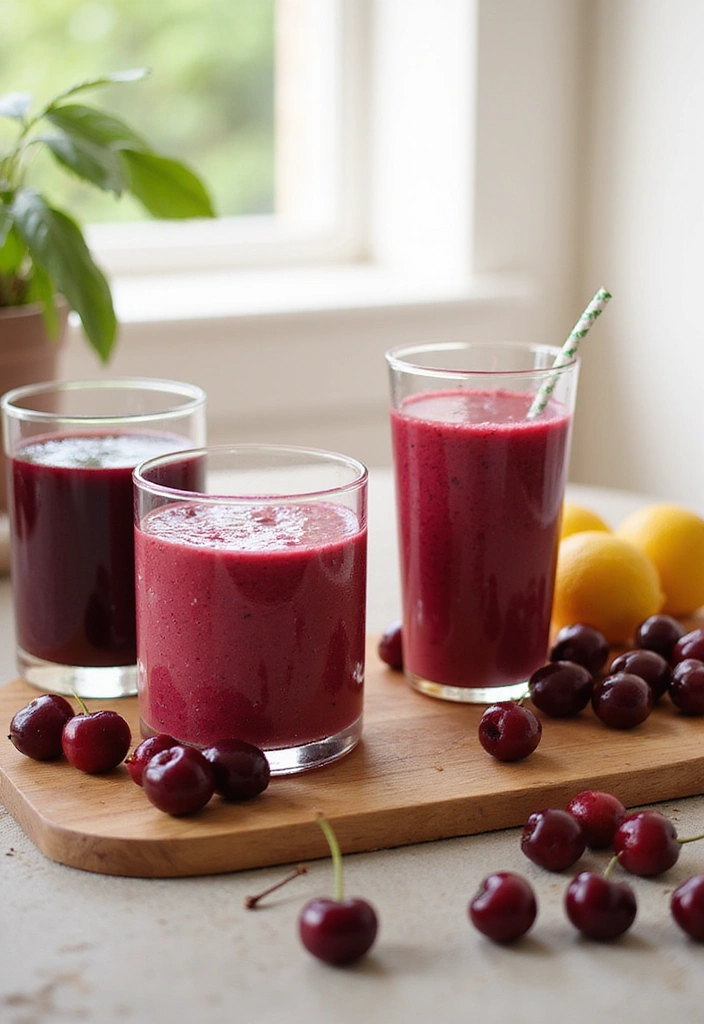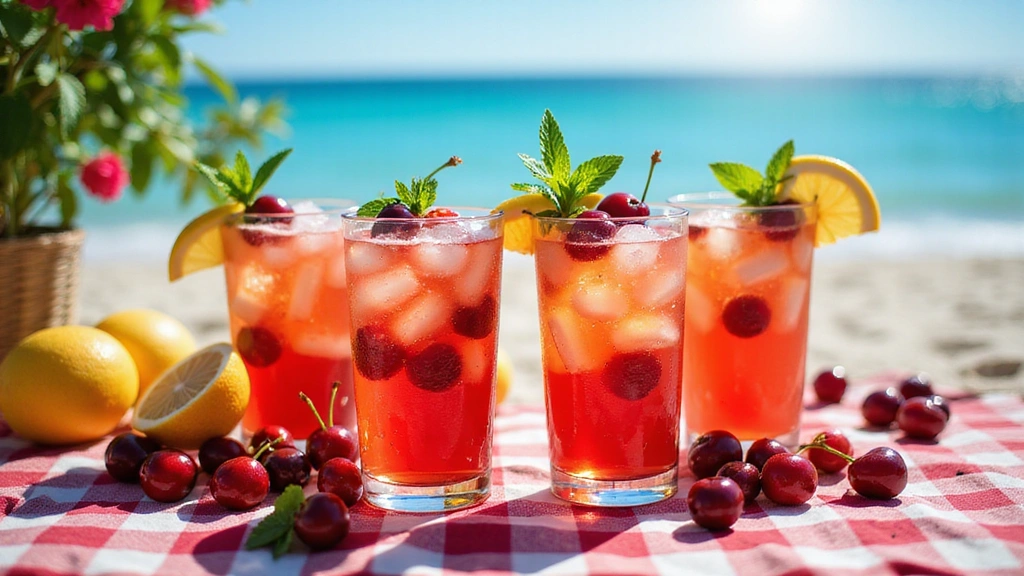
Summer’s calling, and nothing says ‘refreshing’ quite like a glass full of refreshing cherry drinks!
These luscious little fruits bring a burst of flavor that can transform any drink into a delightful experience.
Join us on this cherry-sweet journey as we explore ten irresistible cherry drinks, from tantalizing cocktails to rejuvenating spritzers.
Whether you’re lounging by the pool or hosting a summer soirée, these recipes are perfect for making your summer days even brighter!
1. Cherry Limeade Splash
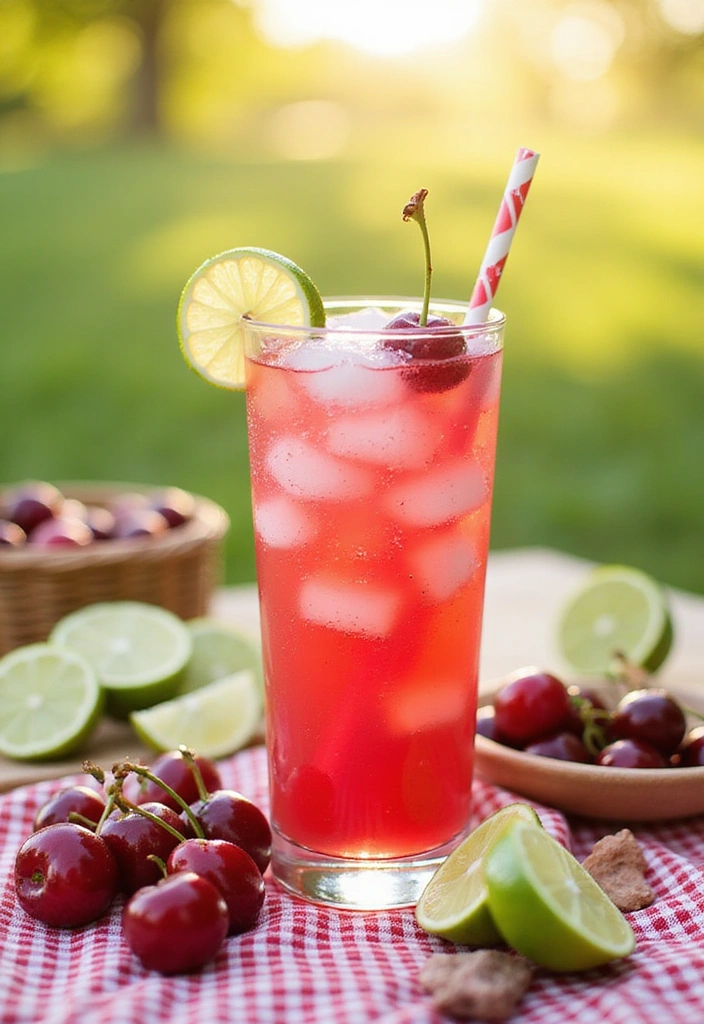
Kick off your summer refreshment with a Cherry Limeade Splash that’s as zesty as it is sweet!
This drink combines the tartness of fresh limes with the rich sweetness of cherries, creating a perfect balance that dances on your taste buds.
The vibrant pink hue is eye-catching, and the fizz from sparkling water adds a delightful effervescence.
Serve it in tall glasses, and don’t forget to add ice cubes and a slice of lime for extra flair!
Recipe Overview:
– Servings: 4
– Prep Time: 10 minutes
– Total Time: 10 minutes
– Calories: 120 per serving
Nutrition Information:
– Carbohydrates: 28g
– Sugars: 24g
– Vitamin C: 15% DV
Ingredients:
– 1 cup fresh cherries, pitted
– 1/2 cup freshly squeezed lime juice
– 1/4 cup sugar (or honey)
– 4 cups sparkling water
– Lime slices and cherries for garnish
Instructions:
1. In a blender, blend the pitted cherries and lime juice until smooth.
2. Strain the mixture through a fine mesh sieve to remove the solids.
3. In a pitcher, combine the cherry-lime mixture and sugar, stirring until dissolved.
4. Add the sparkling water and mix gently.
5. Serve over ice and garnish with lime slices and fresh cherries.
Tips:
– For an extra tang, add a splash of lemon juice.
– Substitute sugar with a sugar-free sweetener if desired.
Frequently Asked Questions:
– Can I make this drink ahead of time? Yes, just mix the cherry-lime mixture and add sparkling water just before serving to keep it fizzy!
2. Cherry Mojito Twist
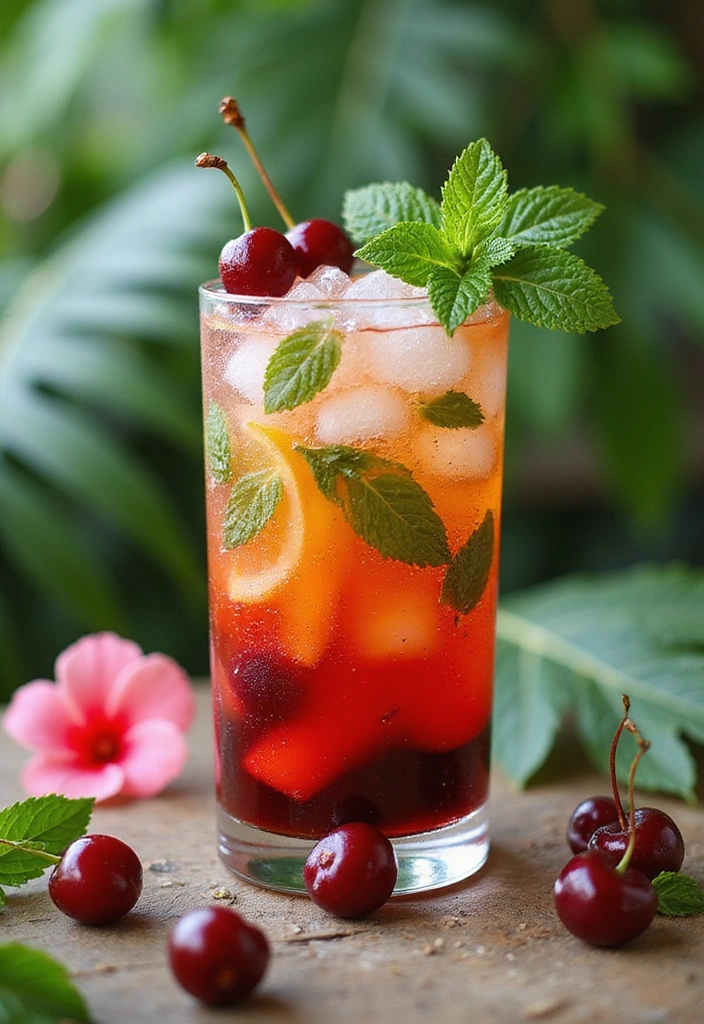
Elevate your cocktail game with a Cherry Mojito Twist!
This refreshing drink takes the classic mojito and adds a burst of cherry sweetness.
Fresh mint leaves, zesty lime, and juicy cherries come together to create a cocktail that’s not only delicious but visually stunning.
Perfect for summer parties, this mojito is sure to impress your guests with its vibrant color and refreshing taste.
Recipe Overview:
– Servings: 2
– Prep Time: 15 minutes
– Total Time: 15 minutes
– Calories: 150 per serving
Nutrition Information:
– Carbohydrates: 20g
– Sugars: 18g
– Vitamin C: 10% DV
Ingredients:
– 1 cup fresh cherries, pitted and halved
– 1/4 cup fresh mint leaves
– 1/2 cup lime juice
– 1/4 cup white rum
– 1/4 cup simple syrup
– Club soda, to top
– Mint sprigs and cherries for garnish
Instructions:
1. In a glass, muddle the cherries and fresh mint leaves together.
2. Add lime juice, white rum, and simple syrup, stirring well to combine.
3. Fill the glass with ice, then top with club soda.
4. Stir gently and garnish with mint sprigs and whole cherries.
Tips:
– Use a flavored rum for an extra twist.
– To make it non-alcoholic, substitute rum with extra club soda.
Frequently Asked Questions:
– Can I use frozen cherries? Yes, just thaw them beforehand for better muddling.
3. Cherry Peach Sparkler
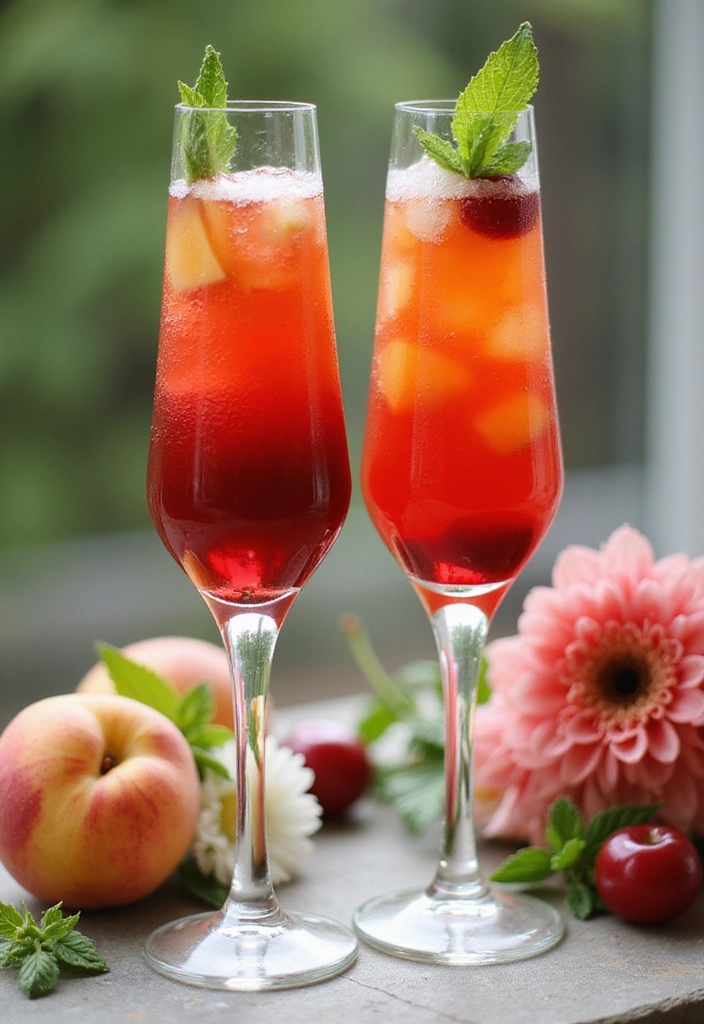
Indulge in the fruity goodness of a Cherry Peach Sparkler!
This drink is a delightful mix of fresh cherries and juicy peaches, topped with sparkling wine for that special touch.
The combination of sweet and tart flavors, along with the bubbles, makes it a perfect celebratory drink for summer gatherings.
Serve it in elegant flutes for a touch of sophistication, and watch your guests smile with every sip!
Recipe Overview:
– Servings: 4
– Prep Time: 10 minutes
– Total Time: 10 minutes
– Calories: 130 per serving
Nutrition Information:
– Carbohydrates: 15g
– Sugars: 12g
– Vitamin A: 10% DV
Ingredients:
– 1 cup fresh cherries, pitted
– 1 cup fresh peaches, sliced
– 1/4 cup sugar
– 1 bottle sparkling wine (e.g., Prosecco)
– Fresh mint for garnish
Instructions:
1. In a blender, puree the cherries and peaches until smooth.
2. Strain through a fine mesh sieve into a pitcher, discarding solids.
3. Add sugar and stir until dissolved.
4. Fill each flute halfway with the fruit puree and top with sparkling wine.
5. Garnish with a mint leaf.
Tips:
– For more sweetness, adjust the sugar to your taste.
– This drink can be made with non-alcoholic sparkling juice as well.
Frequently Asked Questions:
– How long can I store the fruit puree? It can be refrigerated for up to 3 days.
4. Sparkling Cherry Lemonade
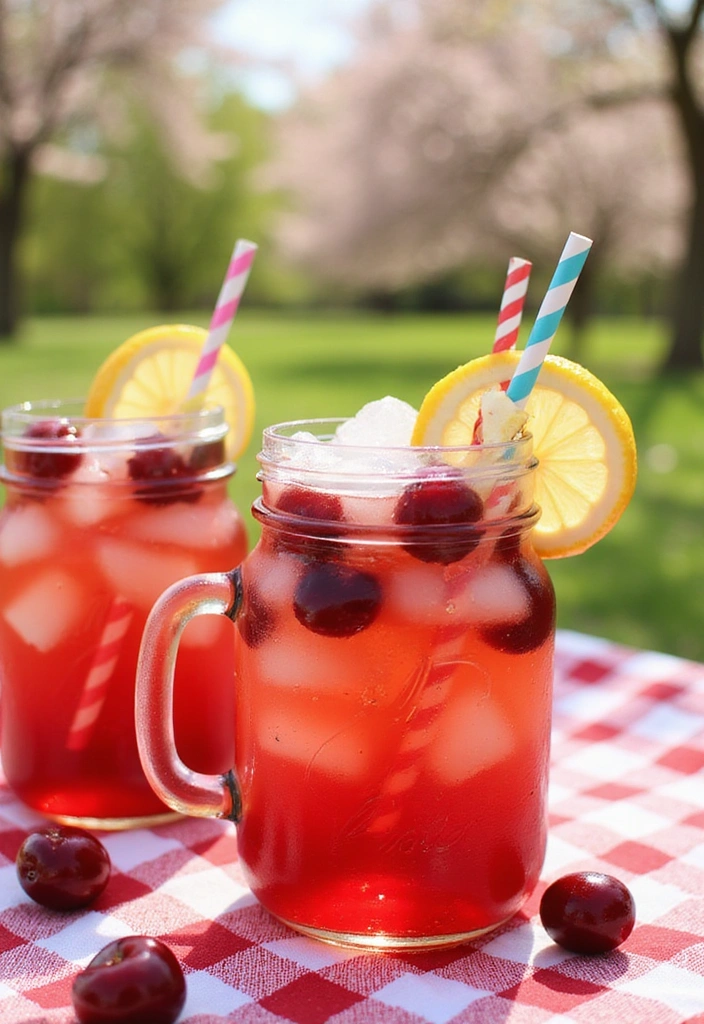
Brighten your summer days with a refreshing Sparkling Cherry Lemonade!
This drink combines the sweet-tart flavor of cherries with the zesty goodness of lemonade, making it a perfect thirst-quencher.
The addition of sparkling water adds a bubbly twist that makes it even more enjoyable.
Serve it in mason jars with striped straws for a casual, fun vibe that’s ideal for picnics or backyard barbecues!
Recipe Overview:
– Servings: 6
– Prep Time: 15 minutes
– Total Time: 15 minutes
– Calories: 100 per serving
Nutrition Information:
– Carbohydrates: 25g
– Sugars: 20g
– Vitamin C: 20% DV
Ingredients:
– 1 cup fresh cherries, pitted
– 1 cup lemon juice
– 1/2 cup sugar
– 4 cups sparkling water
– Lemon slices and cherries for garnish
Instructions:
1. Blend the pitted cherries until smooth and strain to remove solids.
2. In a pitcher, mix cherry puree, lemon juice, and sugar until well blended.
3. Slowly add sparkling water and stir gently.
4. Serve over ice with lemon slices and fresh cherries.
Tips:
– Use sparkling lemonade for an extra lemony kick.
– Add a splash of vodka for an adult version.
Frequently Asked Questions:
– Can I use bottled lemon juice? Freshly squeezed is preferred for better flavor!
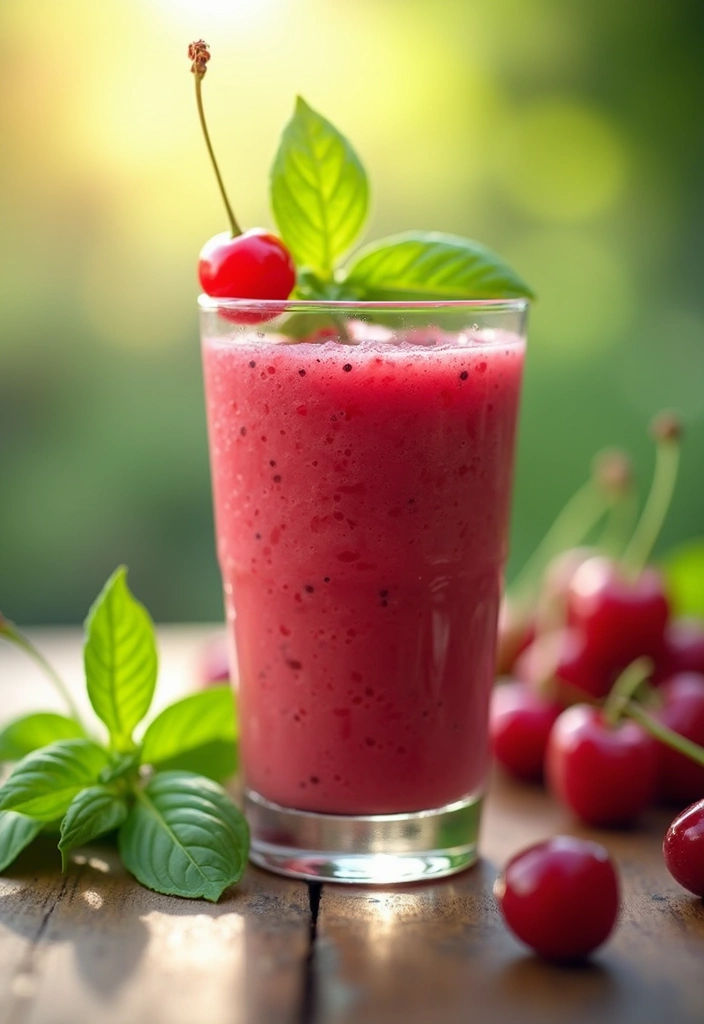
5. Cherry Basil Fizz
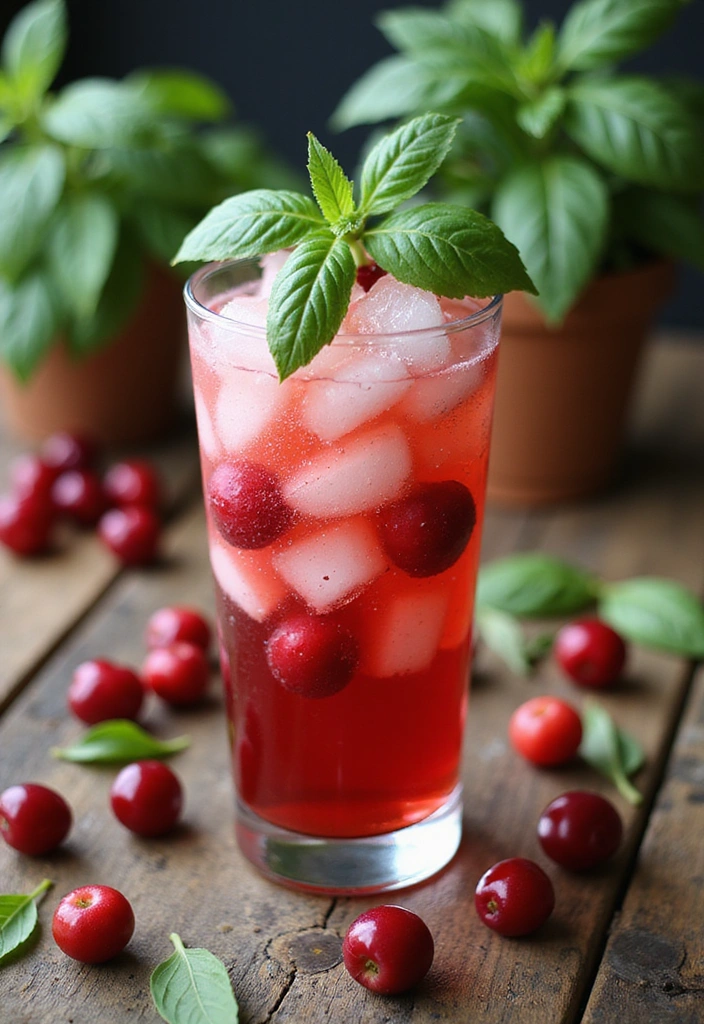
Experience a delightful fusion of flavors with a Cherry Basil Fizz!
This unique drink features fresh cherries and aromatic basil, creating a refreshing and sophisticated beverage that’s sure to impress.
The combination of sweet cherries and herbal basil, topped with sparkling water, brings a new twist to your summer drinks.
Perfect for garden parties or brunch, this drink is both refreshing and pretty!
Recipe Overview:
– Servings: 4
– Prep Time: 10 minutes
– Total Time: 10 minutes
– Calories: 120 per serving
Nutrition Information:
– Carbohydrates: 18g
– Sugars: 14g
– Vitamin K: 15% DV
Ingredients:
– 1 cup fresh cherries, pitted
– 1/4 cup fresh basil leaves
– 1/2 cup lime juice
– 1/4 cup sugar
– 4 cups sparkling water
– Basil sprigs for garnish
Instructions:
1. Muddle the cherries and basil leaves in a glass until juicy.
2. Add lime juice and sugar, stirring well to combine.
3. Fill the glass with ice and top with sparkling water.
4. Stir gently and garnish with basil sprigs.
Tips:
– For a stronger basil flavor, let the mixture sit for a few minutes before adding sparkling water.
– This drink can also be made with gin for a cocktail version.
Frequently Asked Questions:
– Can I use dried basil? Fresh basil works best for flavor.
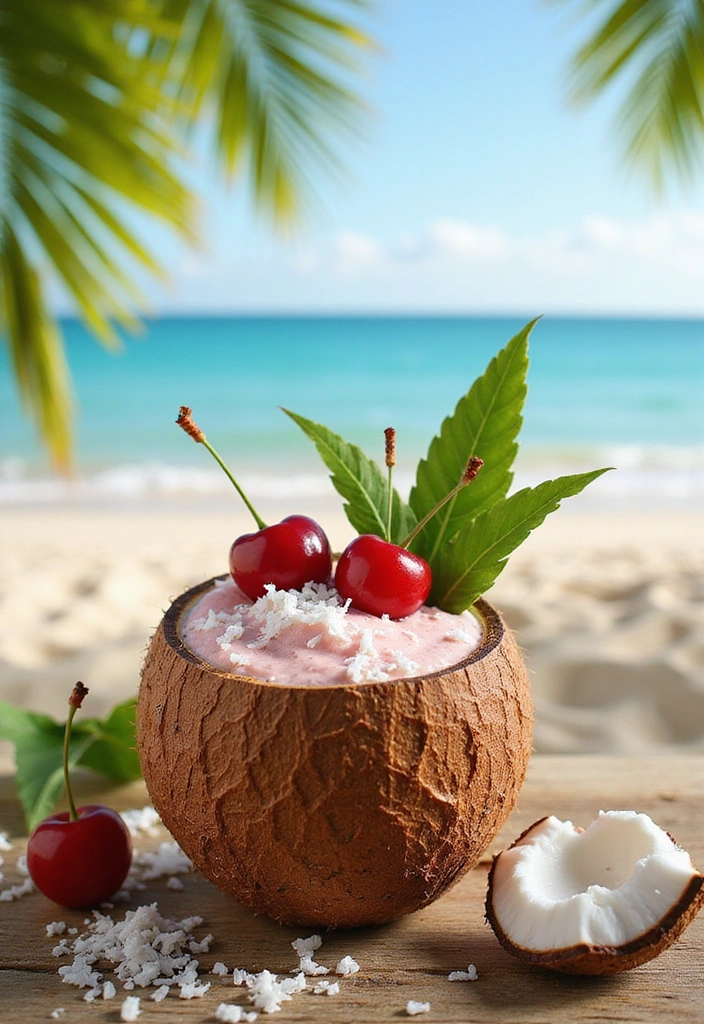
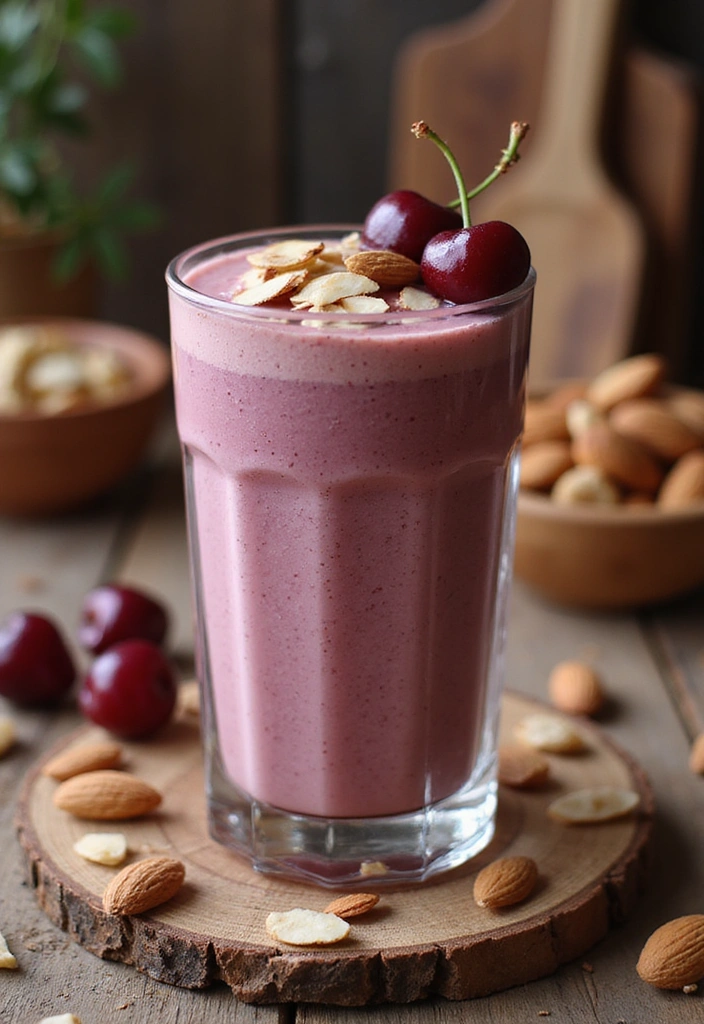
6. Cherry Coconut Cooler
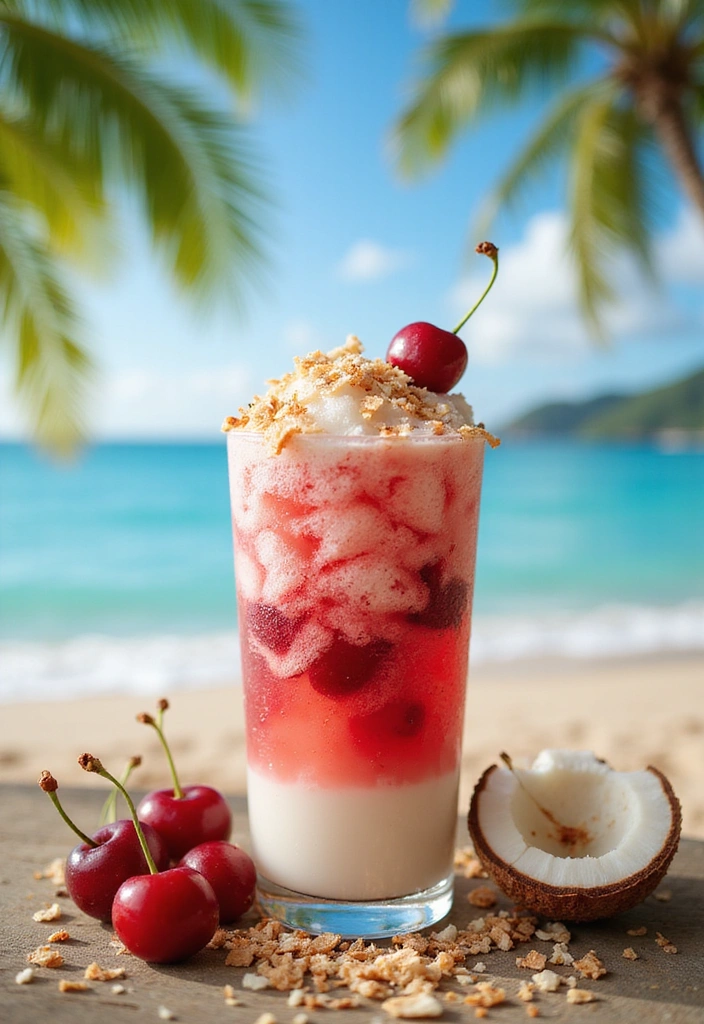
Chill out with a tropical Cherry Coconut Cooler that transports you straight to paradise!
This drink combines creamy coconut milk with juicy cherries for a smooth and indulgent treat.
It’s perfect for those hot summer days when you crave something refreshing yet satisfying.
Blend it into a frosty slush or serve it over ice for a delightful twist to your typical summer beverages.
Recipe Overview:
– Servings: 2
– Prep Time: 10 minutes
– Total Time: 10 minutes
– Calories: 200 per serving
Nutrition Information:
– Carbohydrates: 25g
– Sugars: 22g
– Calcium: 10% DV
Ingredients:
– 1 cup fresh cherries, pitted
– 1 cup coconut milk
– 1/4 cup sugar
– Ice cubes
– Cherries and toasted coconut for garnish
Instructions:
1. In a blender, combine cherries, coconut milk, and sugar.
2. Blend until smooth and creamy.
3. Add ice cubes and blend until slushy.
4. Serve in chilled glasses and garnish with cherries and toasted coconut.
Tips:
– Use light coconut milk for a lower-calorie version.
– For an adult twist, add rum or vodka to the blend.
Frequently Asked Questions:
– Can I use canned coconut milk? Yes, but make sure to shake it well before using.
7. Cherry Sangria
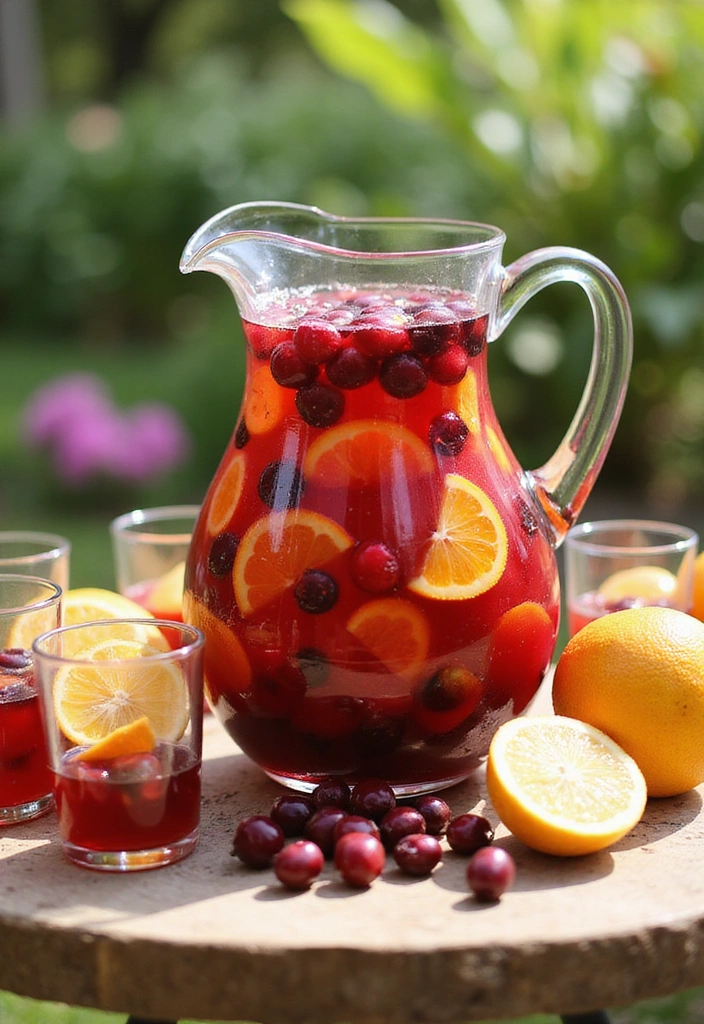
Bring the party to life with a refreshing Cherry Sangria that’s bursting with fruity flavors!
This vibrant drink combines red wine, fresh cherries, and a medley of seasonal fruits for a fun and colorful summer beverage.
Perfect for gatherings, this sangria is not only visually stunning but also incredibly easy to make.
Serve it in a large pitcher and let everyone help themselves as they enjoy the summer sun.
Recipe Overview:
– Servings: 8
– Prep Time: 15 minutes
– Total Time: 15 minutes (plus chilling)
– Calories: 180 per serving
Nutrition Information:
– Carbohydrates: 22g
– Sugars: 18g
– Vitamin C: 15% DV
Ingredients:
– 1 bottle red wine (Merlot or Cabernet)
– 1 cup fresh cherries, pitted and halved
– 1 orange, sliced
– 1 lemon, sliced
– 2 tablespoons sugar
– 1 cup orange juice
– 1 cup soda water
Instructions:
1. In a large pitcher, combine red wine, cherries, orange slices, and lemon slices.
2. Add sugar and orange juice, stirring until sugar dissolves.
3. Refrigerate for at least 2 hours to allow flavors to meld.
4. Just before serving, add soda water for fizz.
5. Serve over ice.
Tips:
– Experiment with different fruits like peaches or berries for variety.
– For a sweeter sangria, adjust the sugar to your taste preferences.
Frequently Asked Questions:
– How long can I store sangria? It’s best enjoyed within 2-3 days for freshness.
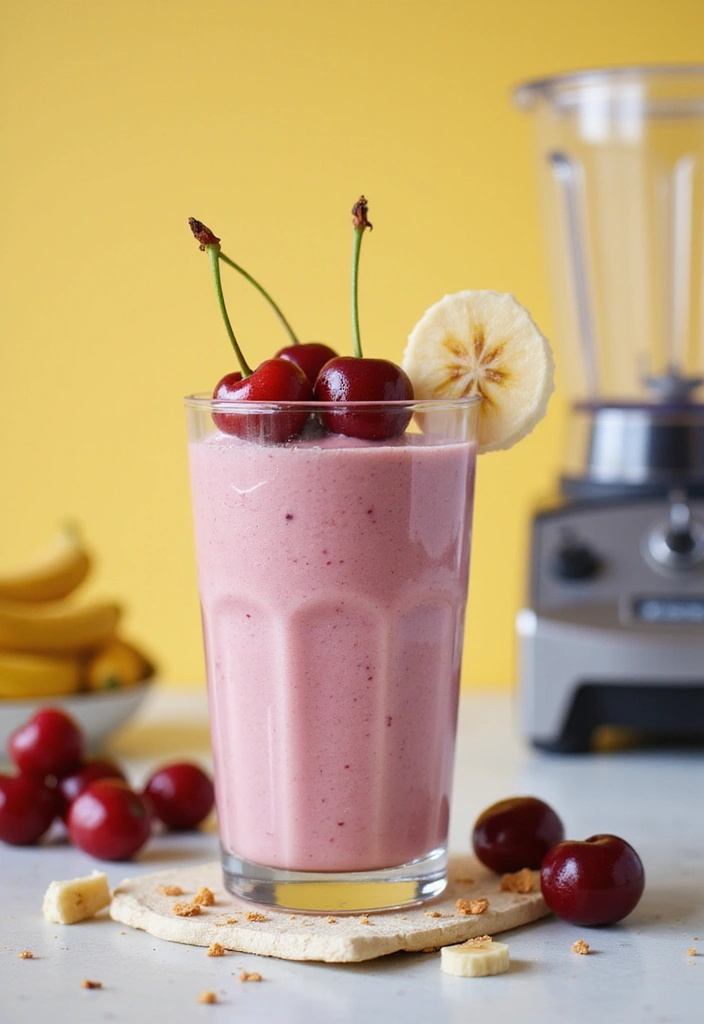
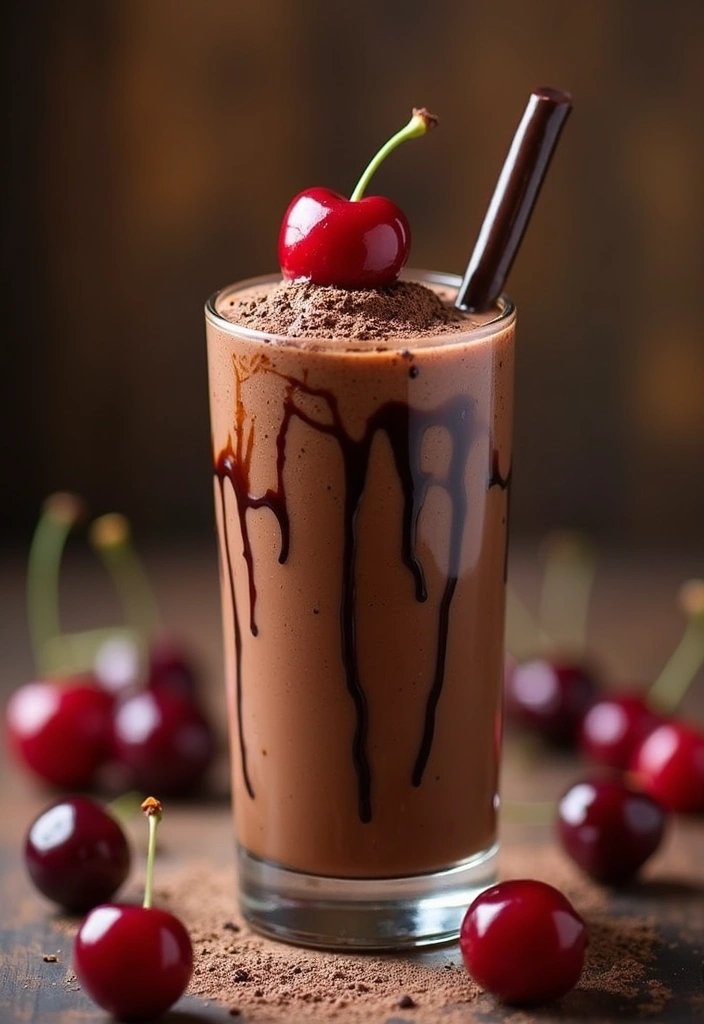
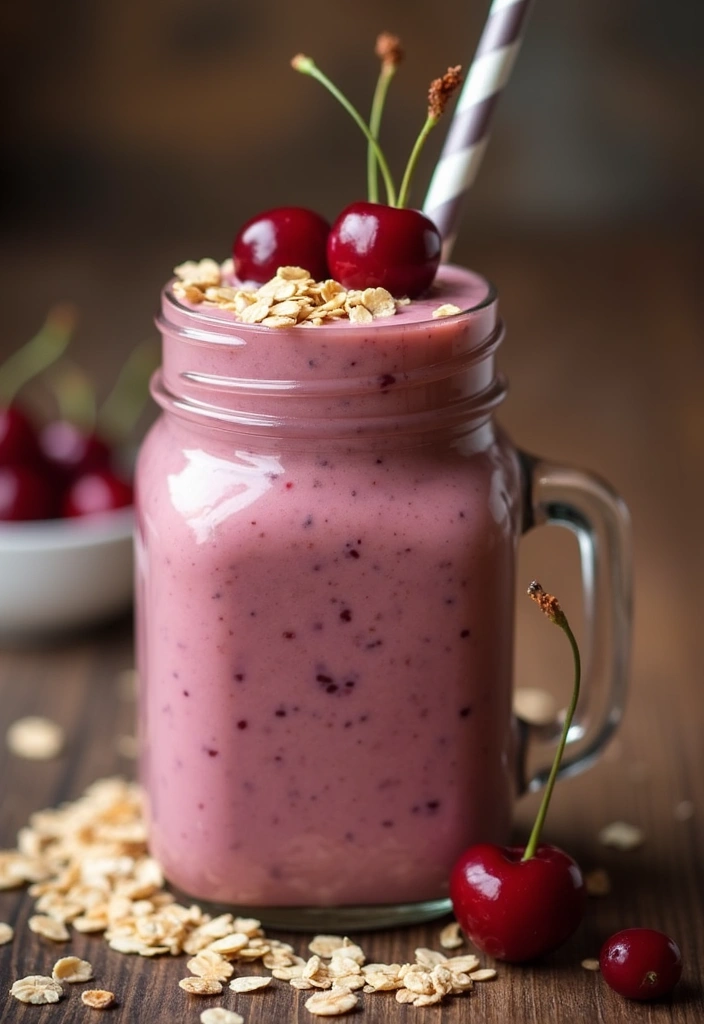
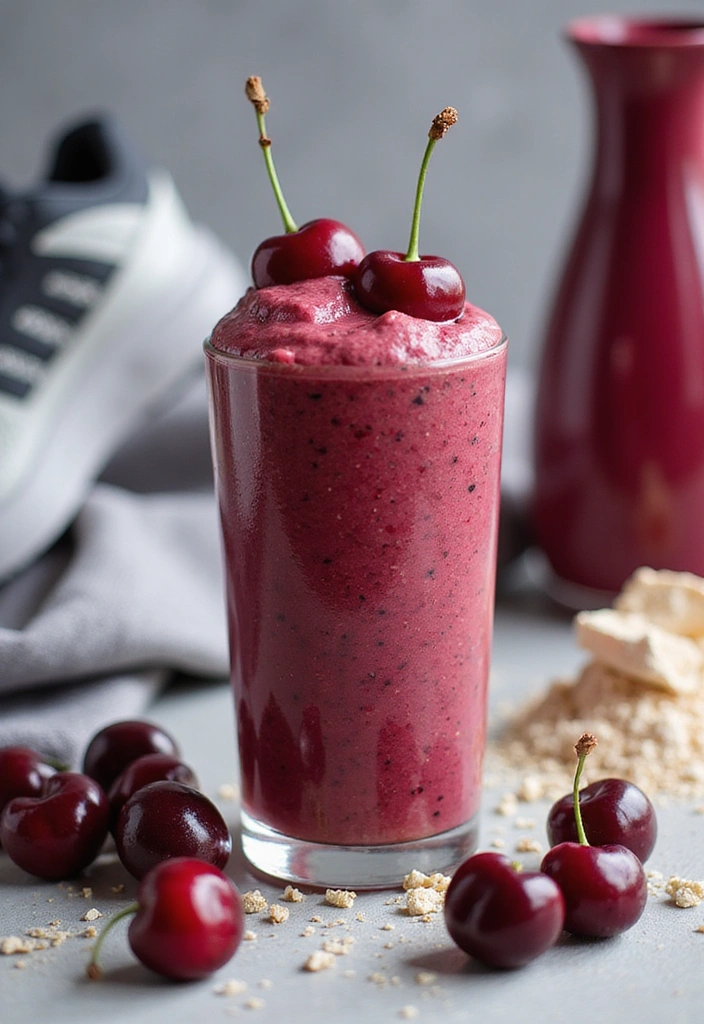
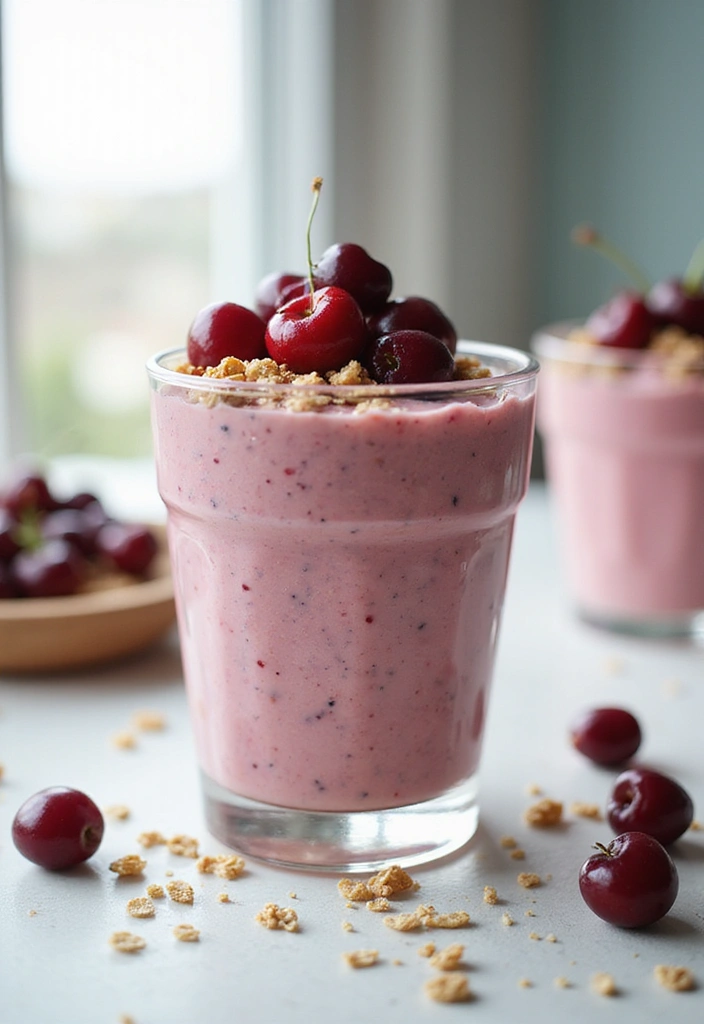
8. Cherry Smoothie Bowl
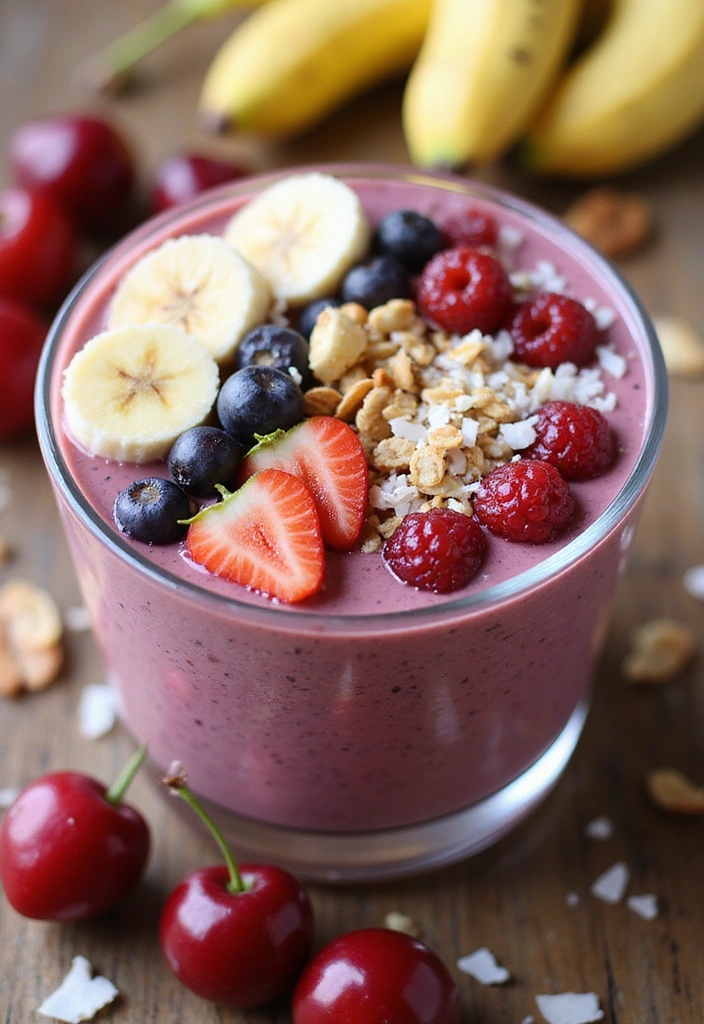
Start your summer mornings with a nutritious Cherry Smoothie Bowl that’s as delicious as it is colorful!
This drink doubles as a meal with its thick and creamy base made from fresh cherries and bananas, topped with your favorite fruits, nuts, and seeds.
It’s a wonderful way to pack in the nutrients while enjoying the sweetness of cherries.
Serve it in a bowl with a rainbow of toppings for a fun breakfast experience!
Recipe Overview:
– Servings: 2
– Prep Time: 10 minutes
– Total Time: 10 minutes
– Calories: 250 per serving
Nutrition Information:
– Carbohydrates: 40g
– Sugars: 30g
– Protein: 5g
Ingredients:
– 1 cup fresh cherries, pitted
– 1 banana
– 1/2 cup yogurt (or plant-based alternative)
– 1/2 cup almond milk
– Toppings: sliced bananas, granola, coconut flakes, nuts, and berries
Instructions:
1. In a blender, combine cherries, banana, yogurt, and almond milk, blending until smooth.
2. Pour the smoothie mixture into bowls.
3. Top with your choice of fruits, granola, nuts, and coconut flakes.
4. Serve immediately.
Tips:
– Use frozen cherries for a thicker texture.
– Customize toppings based on your preferences for a unique twist.
Frequently Asked Questions:
– Can I prepare this ahead of time? It’s best enjoyed fresh, but you can prep the toppings in advance.
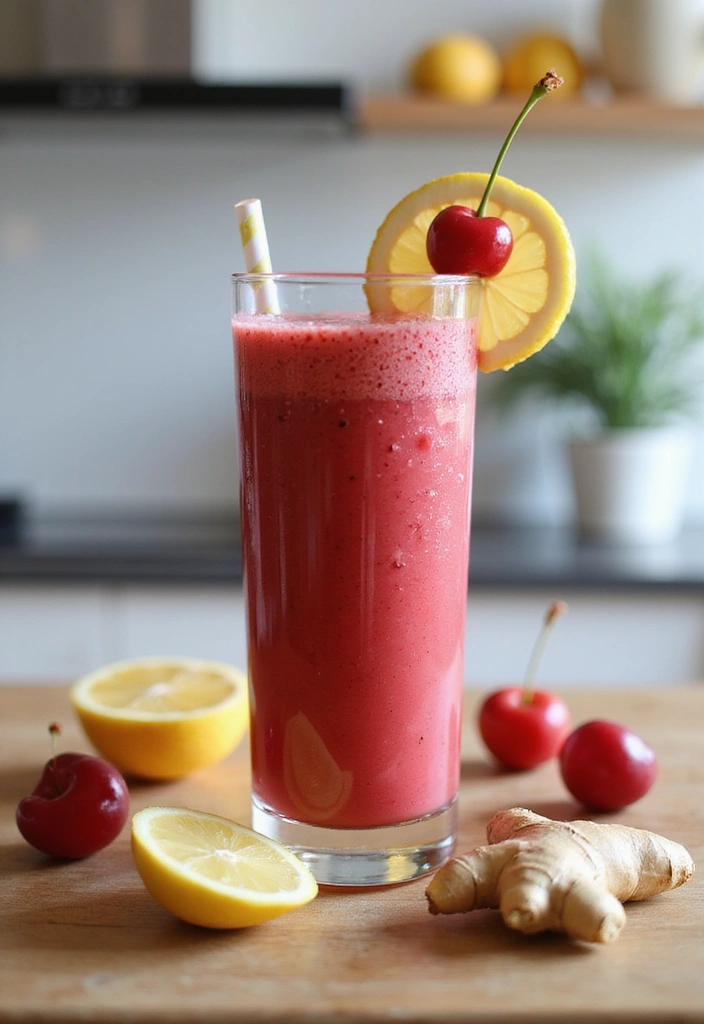
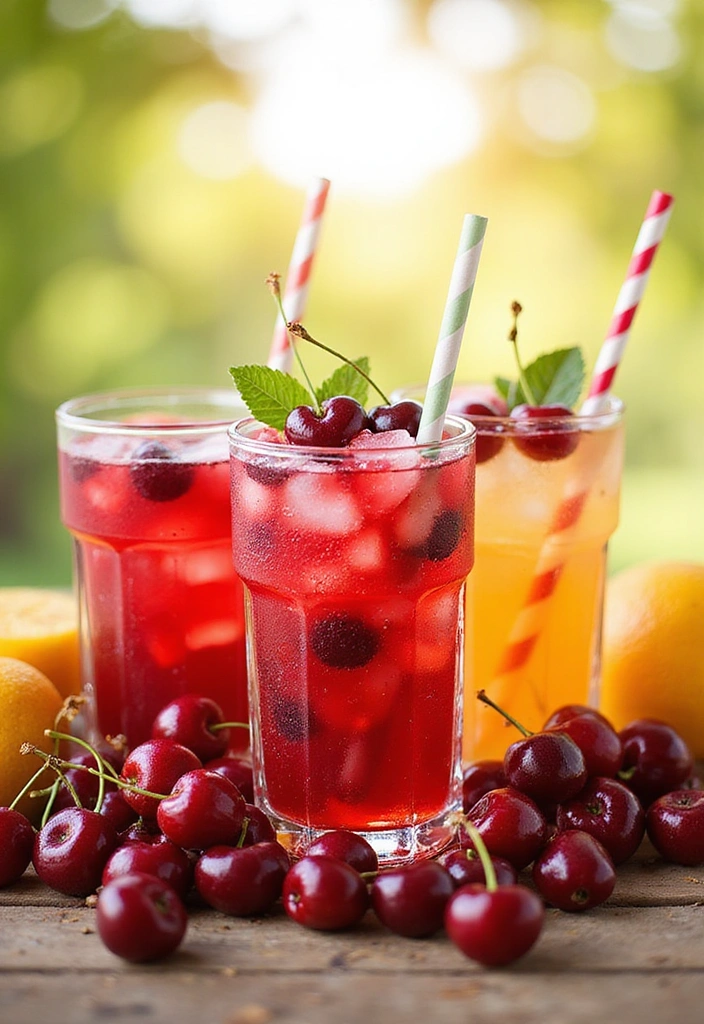
9. Cherry Ice Tea
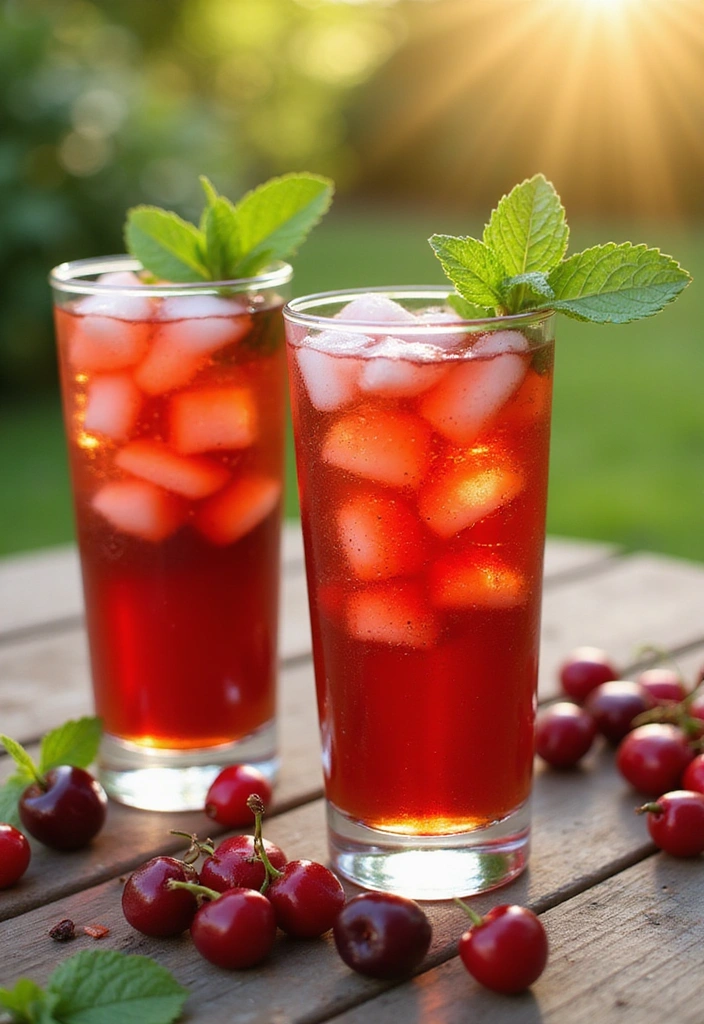
Cool off with a refreshing Cherry Ice Tea, perfect for those hot summer afternoons!
This drink combines the rich flavors of brewed tea with sweet cherry syrup, creating a refreshing beverage that’s both invigorating and satisfying.
Serve it over ice with a sprig of mint for a delightful touch.
It’s a simple yet elegant drink that can be enjoyed at home or at any summer gathering.
Recipe Overview:
– Servings: 4
– Prep Time: 10 minutes
– Total Time: 10 minutes (plus chilling time)
– Calories: 80 per serving
Nutrition Information:
– Carbohydrates: 20g
– Sugars: 18g
– Antioxidants: High
Ingredients:
– 4 cups brewed black tea (cooled)
– 1 cup fresh cherries, pitted and pureed
– 1/4 cup sugar
– Ice cubes
– Mint leaves for garnish
Instructions:
1. In a saucepan, combine cherry puree and sugar, heating gently until sugar dissolves.
2. In a pitcher, mix brewed tea with cherry syrup.
3. Refrigerate for at least 1 hour to chill.
4. Serve over ice and garnish with mint leaves.
Tips:
– Use green tea for a lighter flavor.
– Experiment with different sweeteners for variety.
Frequently Asked Questions:
– Can I use bottled cherry juice? Yes, but adjust the sugar to taste.
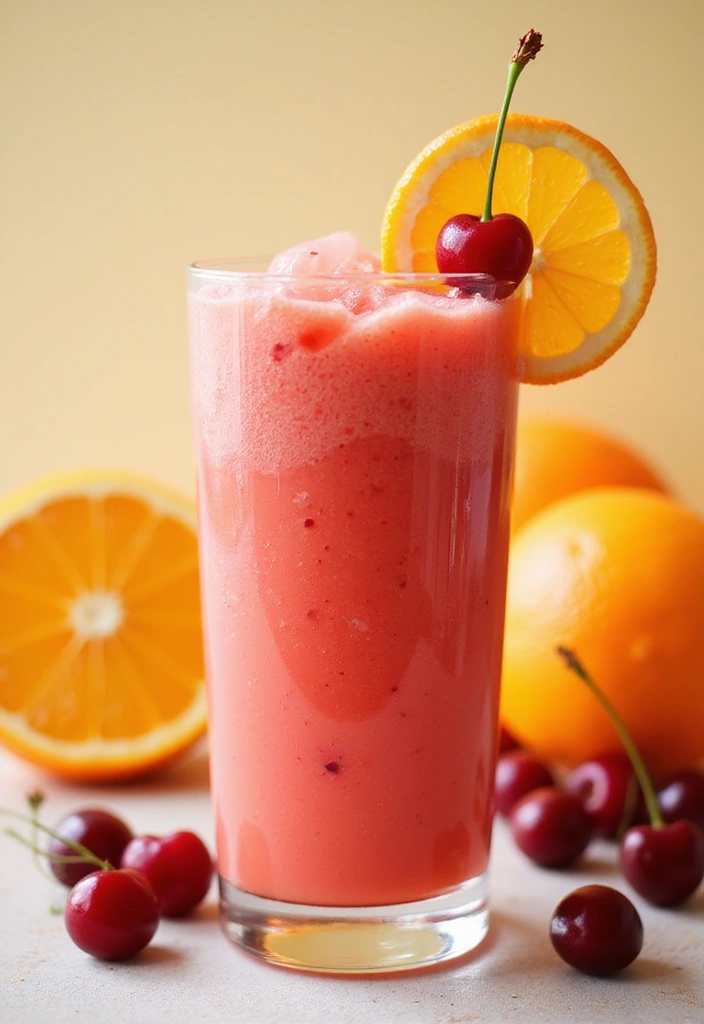
10. Frozen Cherry Slush
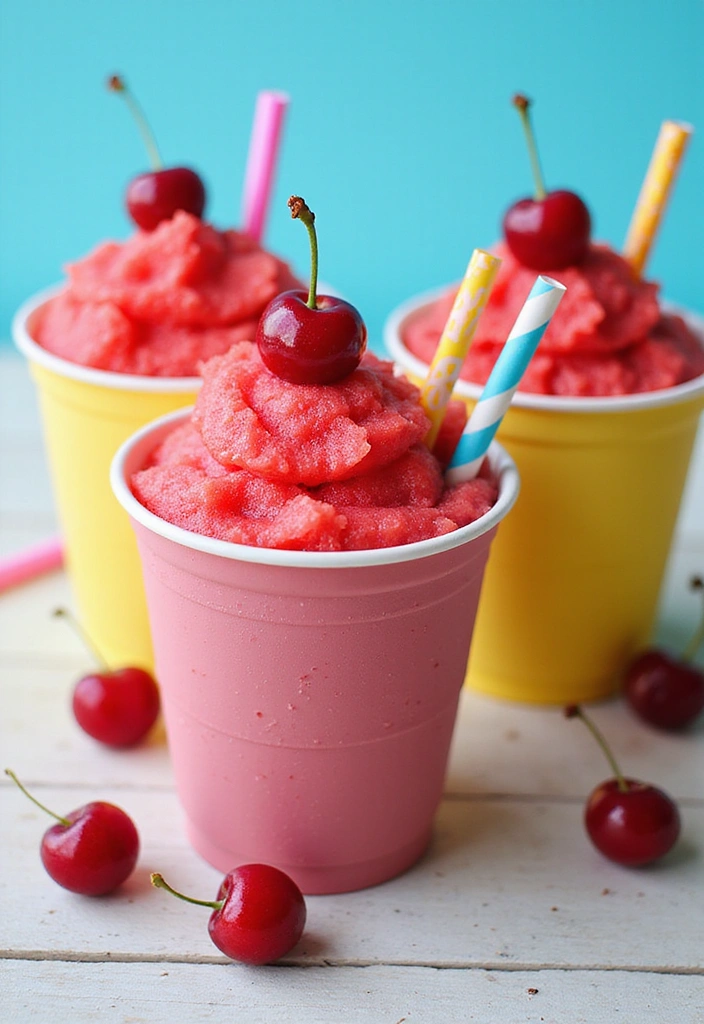
Beat the heat with a Frozen Cherry Slush that’s both fun and flavorful!
This icy treat is made by blending fresh cherries with ice and a splash of lemonade, creating a slushy delight that’s perfect for hot days.
It’s a fantastic way to cool down while enjoying the sweet taste of cherries.
Serve it in fun cups with colorful straws for an added festive touch!
Recipe Overview:
– Servings: 4
– Prep Time: 10 minutes
– Total Time: 10 minutes
– Calories: 150 per serving
Nutrition Information:
– Carbohydrates: 30g
– Sugars: 25g
– Vitamin C: 15% DV
Ingredients:
– 2 cups fresh cherries, pitted
– 2 cups ice
– 1/2 cup lemonade
– Cherries for garnish
Instructions:
1. In a blender, combine cherries, ice, and lemonade, blending until slushy.
2. Pour into cups and garnish with cherries.
3. Serve immediately with colorful straws.
Tips:
– For an adult version, add vodka or rum.
– Experiment with different citrus flavors for variety.
Frequently Asked Questions:
– Can I use frozen cherries? Yes, they work great for a slush!
Conclusion
With these 10 refreshing cherry drinks, summer is sure to become your favorite season!
From zesty limeades to tropical coolers, each drink offers a unique twist on the delightful taste of cherries.
So, gather your friends, mix up some of these delicious beverages, and enjoy the sunshine!
Note: We aim to provide accurate product links, but some may occasionally expire or become unavailable. If this happens, please search directly on Amazon for the product or a suitable alternative.
This post contains Amazon affiliate links. As an Amazon Associate, I earn from qualifying purchases. I may earn a small commission if you purchase through my links, at no extra cost to you.